Priory Square cotton voile by Art Gallery Fabrics
tunic length, high-low hem, drawstring waist
And last but certainly not least, our final reveal of the Fall Collection: The Kaylee Tunic! I wanted to design a tunic that could also be a shirt or dress that would be flowy and fun to wear. The Kaylee has an adjustable waistline that you can either finish out with elastic or a drawstring tie that has been so popular in the
Claire Cami,
Diane Kimono, and
Tara Tank dress patterns. This is a great pattern for sewers who are just getting into garment making. Since there is no zipper, the construction is a snap!
Shannon Fabrics Embrace double gauze with lace yoke, lower sleeve, & skirt
shirt length with elastic waist
Shannon Fabrics double gauze with lace yoke and overlays on lower sleeve and skirt
tunic length with elastic waist
The Kaylee features a lined yoke (unless you are making the lace or knit version), slightly raised waistband, and a skirt with the option of a regular or high-low hem. The sleeve is three quarter length and features a slightly gathered sleeve cap and lower sleeve.
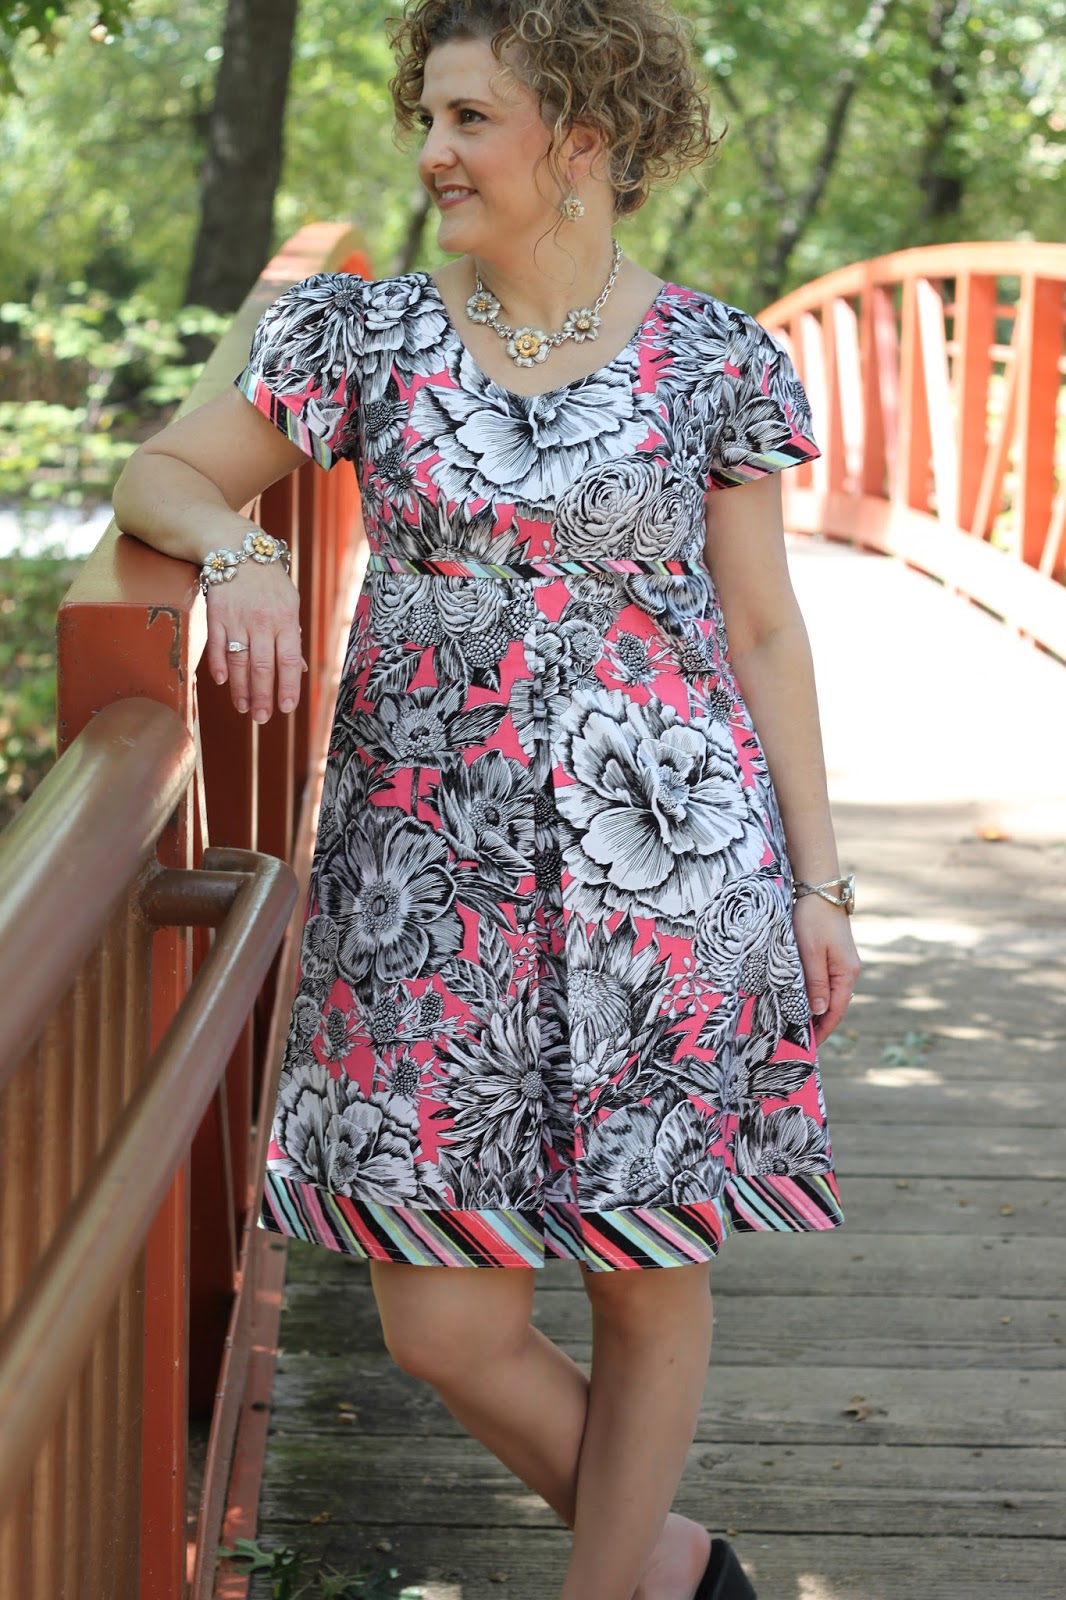
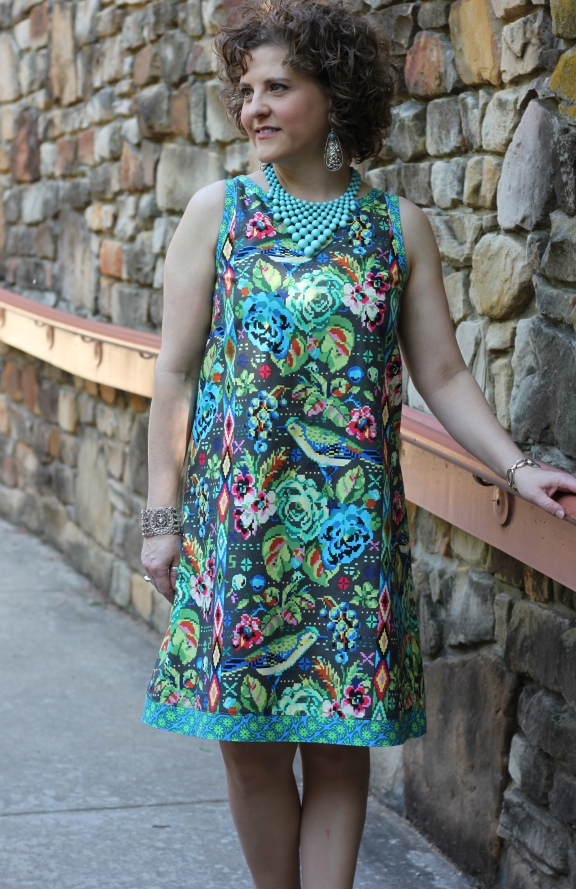
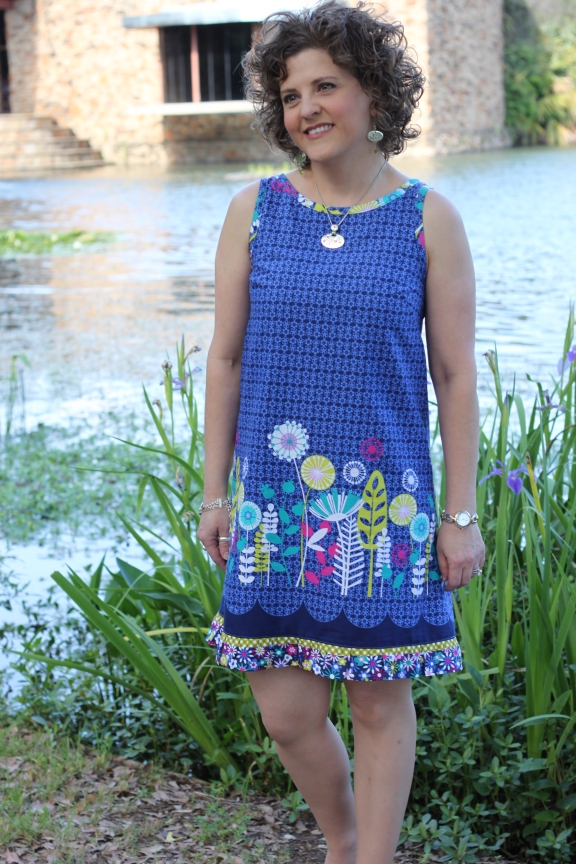
Cotton lawn print
dress length with tiny ruffle detail on hem, elastic waist
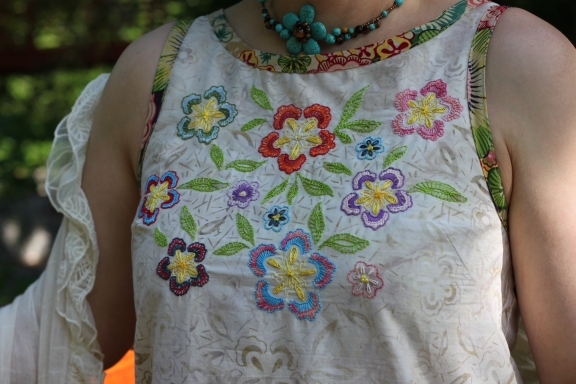
Design options include a lace yoke and lower sleeves/skirt, using 2 or more fabrics, using a silk ribbon for the tie, adding applique & embroidery to the yoke, or adding a tiny ruffle to the hemline.
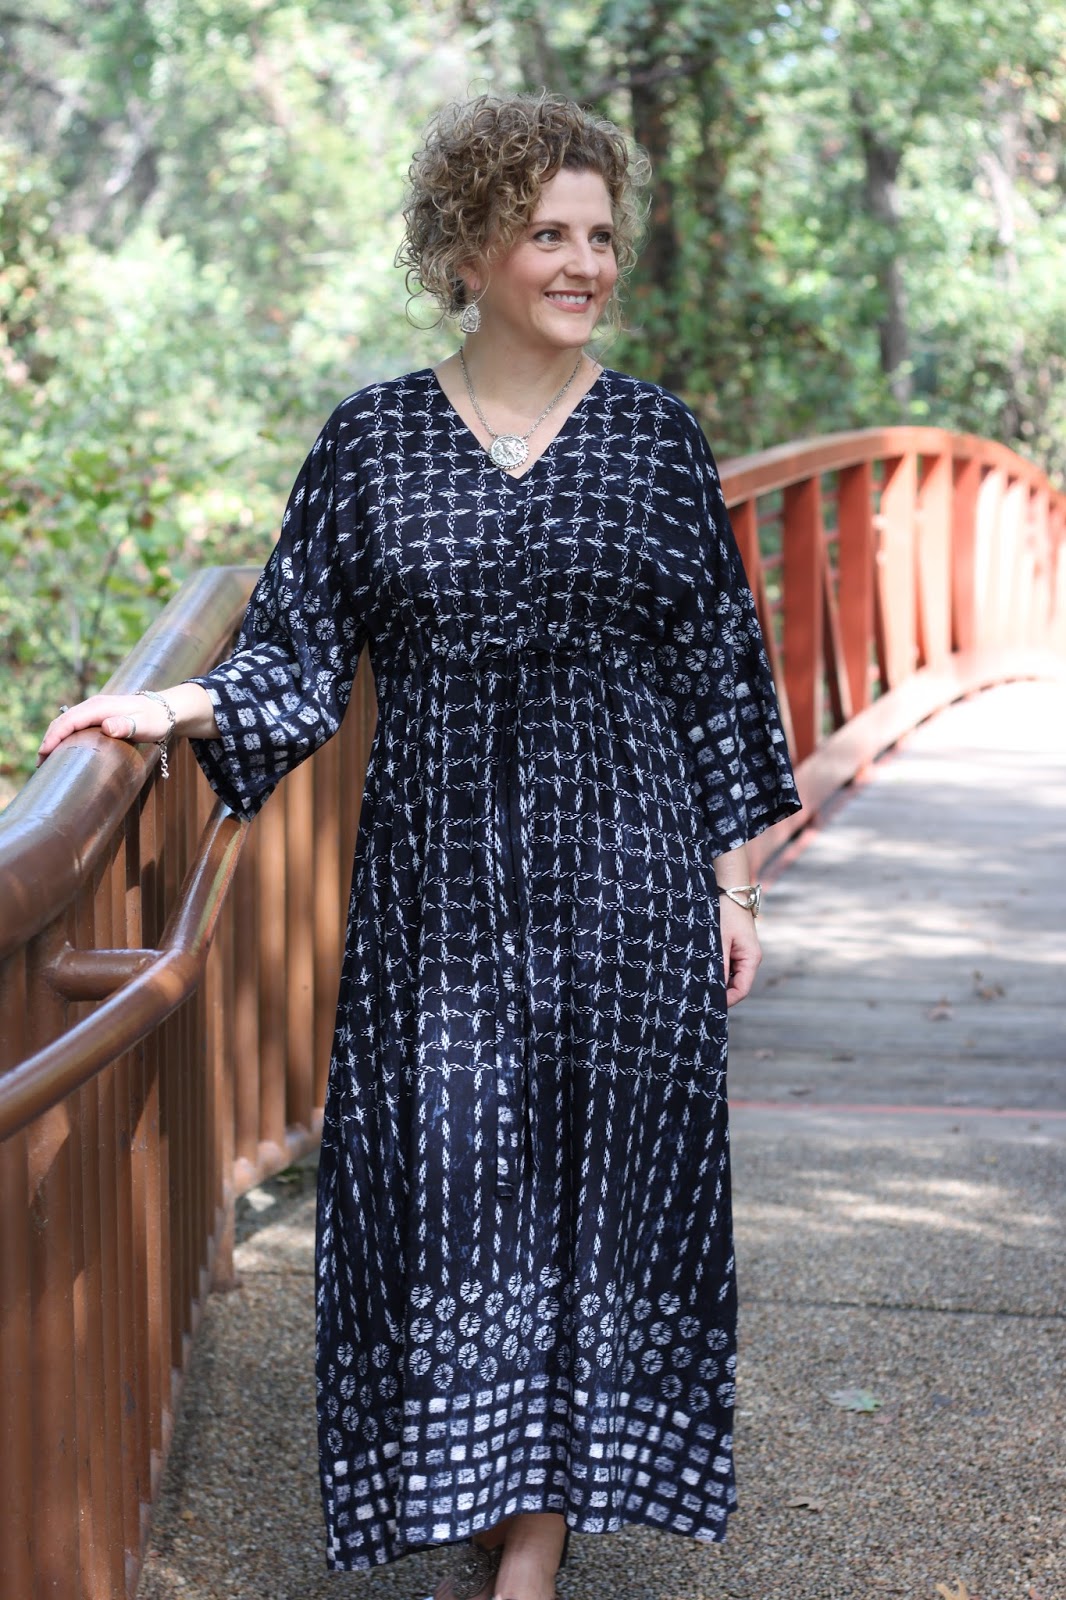
Shannon Fabrics Embrace double gauze featuring applique from our
Birds in Flight stitchery pattern and hand embroidery.
dress length with high-low hemline and silk ribbon tie waist
I think the best fabric options are lightweight and flowy, so that the tunic has nice drape. Recommended fabrics are: double gauze, cotton lawn, cotton voile, rayon, silk, or lightweight linen.
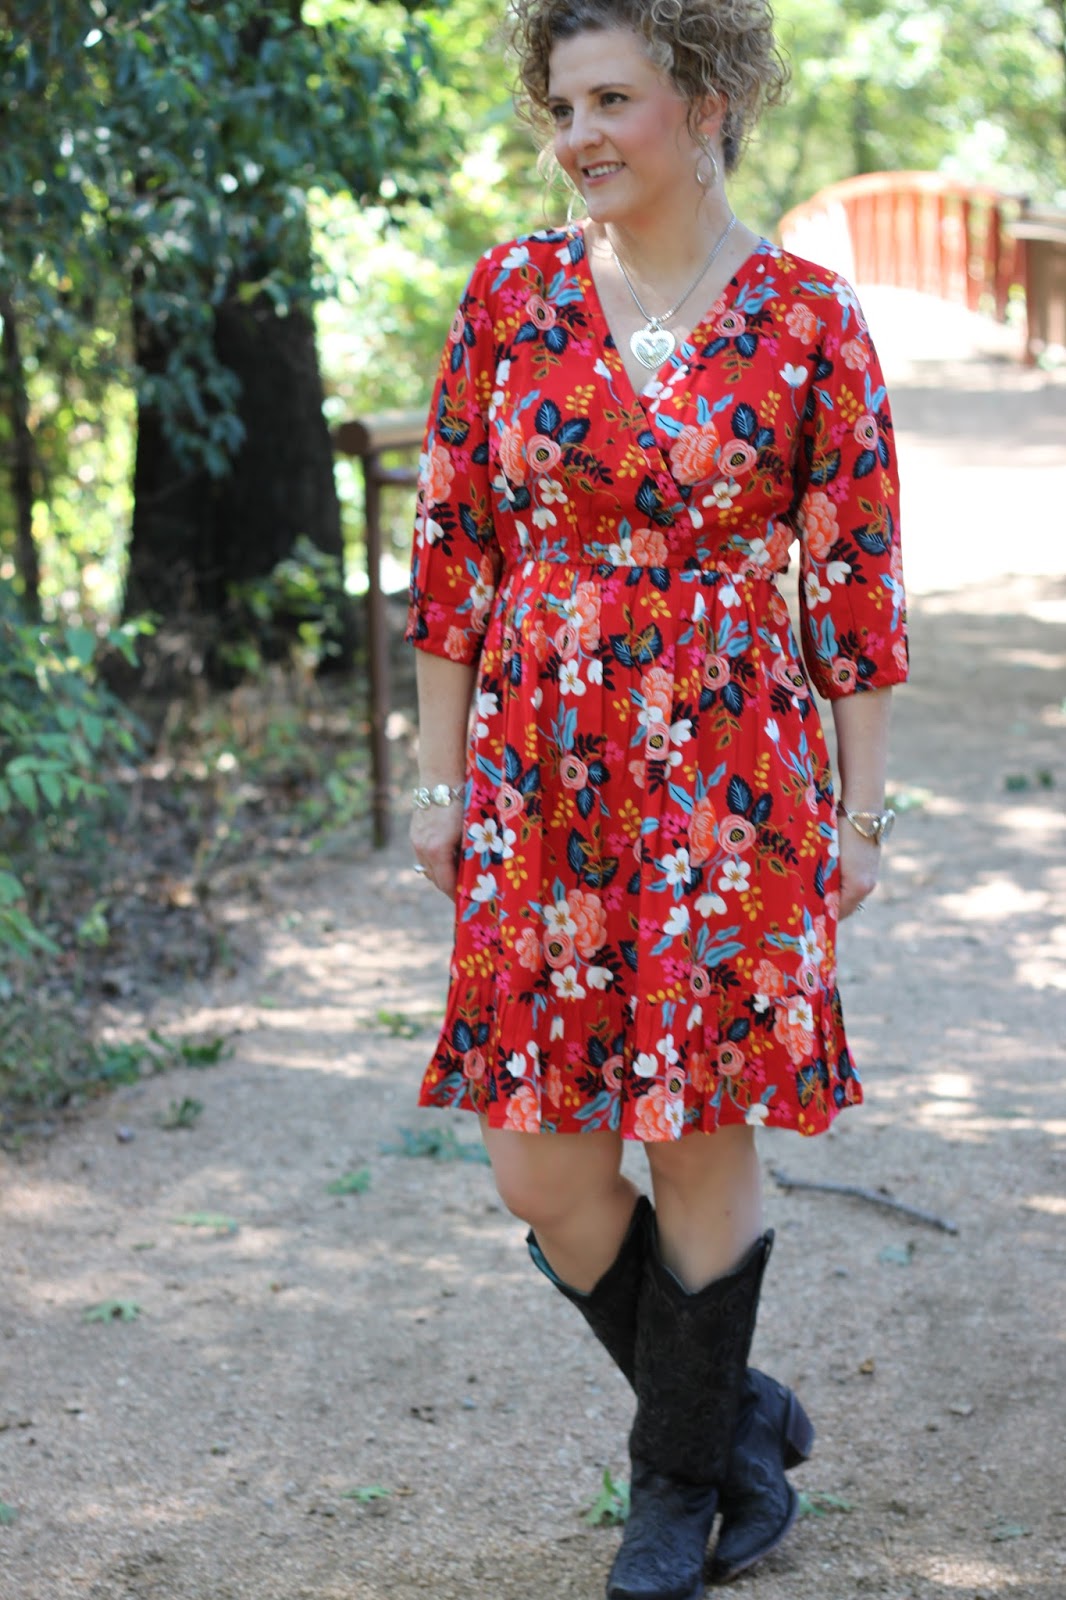
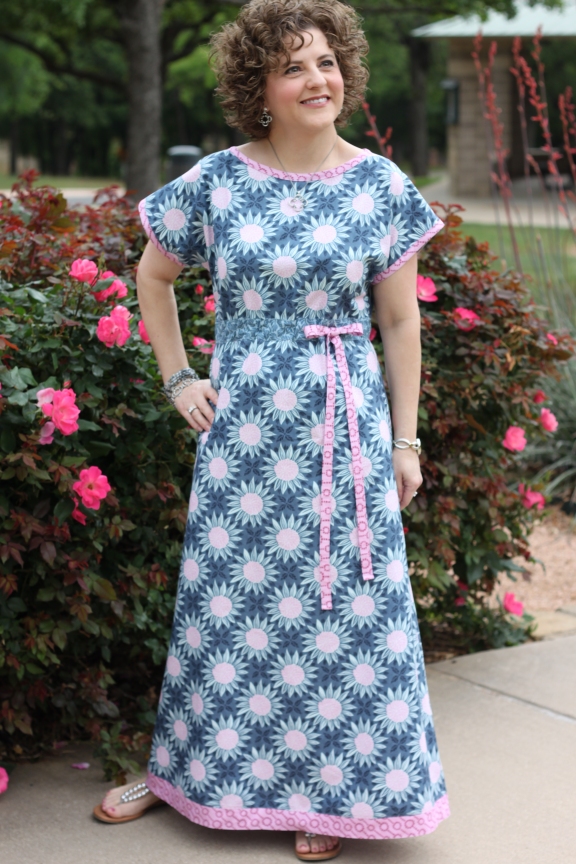
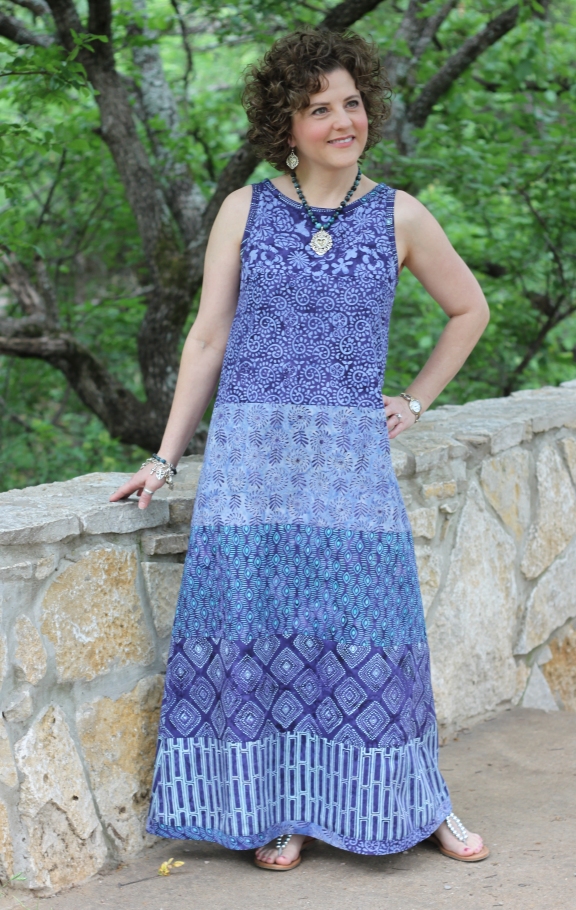
Amy Butler rayon border print for Westminster Fabrics
dress length with regular hem and drawstring waist
The pattern instructions include details for how to make the lace yokes as well as the faux insertion lace sections on the lower skirt and sleeves. Tissue sheets are included for 7 sizes.
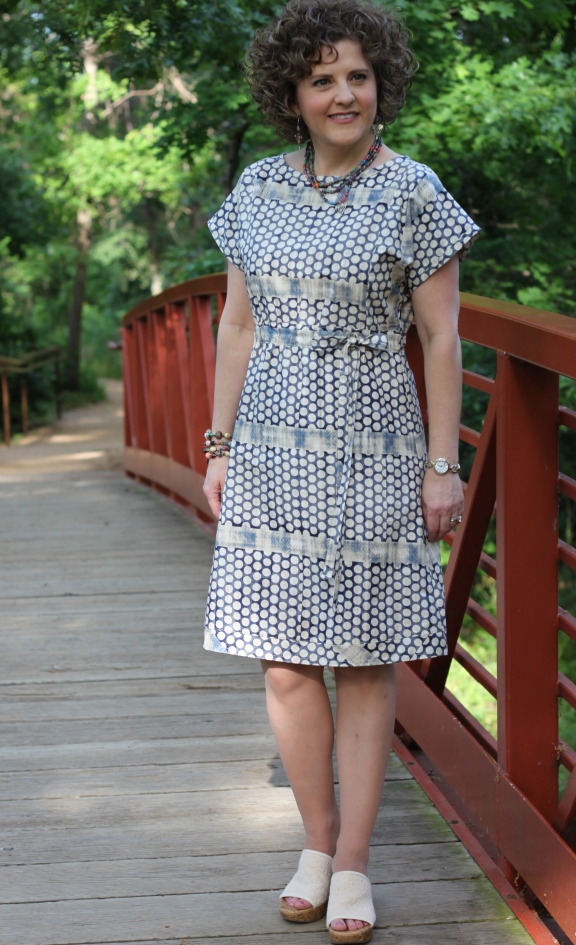
Idle Wild knit for Riley Blake Fabrics
tunic length with contrasting yokes and hembands, elastic waist
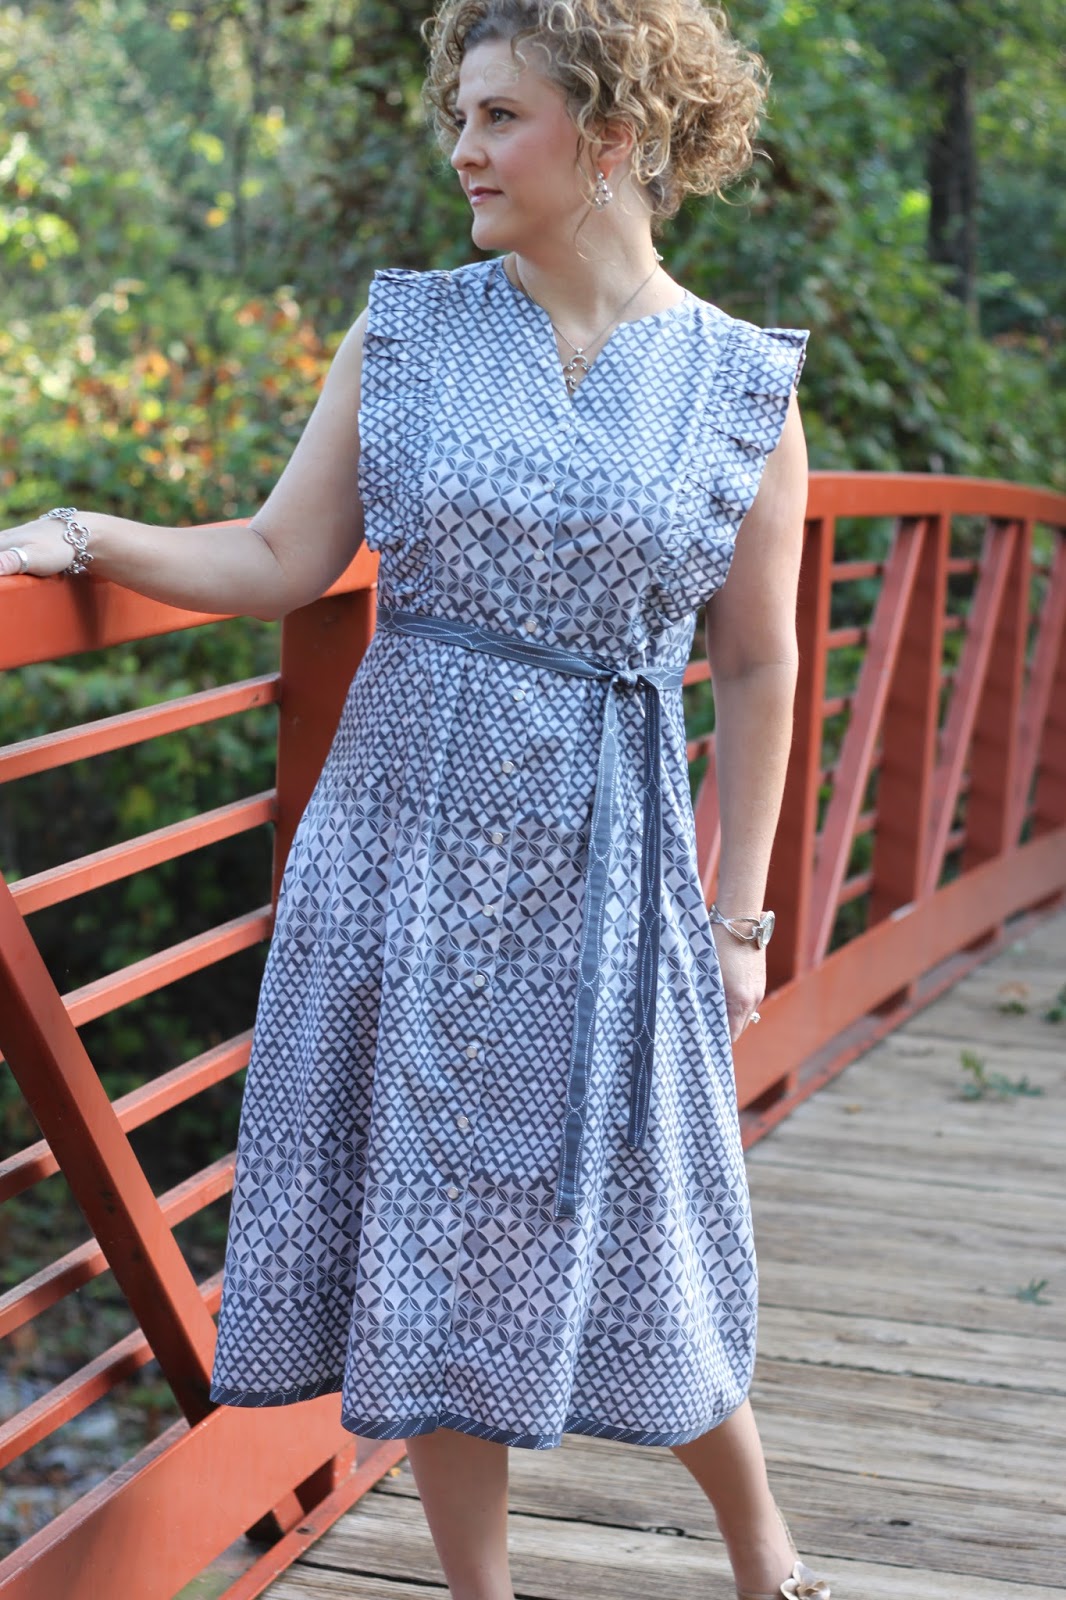
Cotton lawn prints
shirt length, contrasting yoke, waistband, and hembands, drawstring waist
We expect the pattern stock to arrive late this week. We'll be adding this design to the website and everything should be ready to ship by Friday!
Happy Sewing!